
Zoom now has automatic Live Transcription (closed captioning) available in English. Once enabled, this automatically adds text to the bottom of the screen. You are required to enable the Closed Captions – Live Transcription on the meeting level in order for the closed captions to be available to your participants.
Zoom settings for the host
- Log in to your Zoom account at https://bellevuecollege.zoom.us/
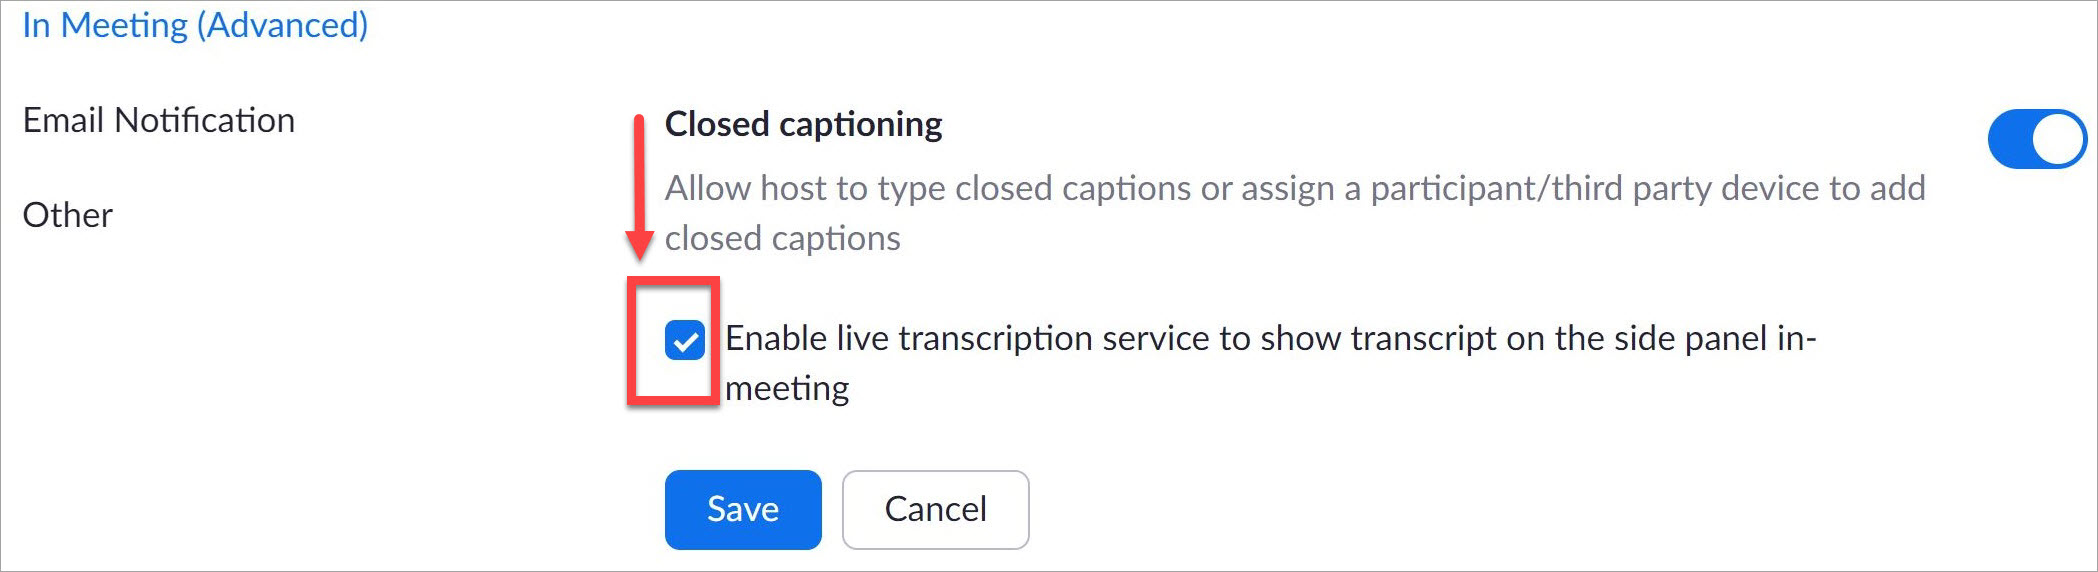
- Click on Settings and scroll down to Closed captioning.
- Under Closed captioning, click the check box for Enable live transcription service to show transcript on the side panel in-meeting.
Launching the captions in the Zoom Session
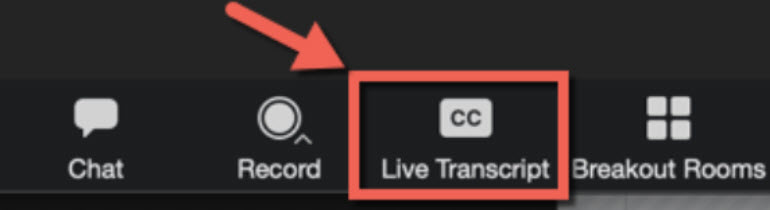
- Open your Zoom room, click on Live Transcript in the Zoom menu and click on Enable Auto-Transcription.
- Alternately, if you have other panels like Participants or Chat open, click on the More menu to find the Live Transcript option.
- Under Live Transcript, click on Enable Auto-Transcription.
- Subtitles will now display horizontally across the bottom of the Zoom window.
- After you enable the auto transcription, you can choose Subtitle Settings and use the slider bar or Chat Display Size menu to adjust the subtitle text size.
- Or choose View Full Transcript to display the transcript in full panel view. Use the down arrow menu options to Close or Pop Out the panel.
NOTE: Live Transcription is currently not supported in breakout rooms.
Last Updated February 25, 2021