Do you remember what it felt like as a college student to enter a classroom on the first day of the quarter? You likely felt a mix of excitement and nervousness. As a new quarter starts, the first day is often a mix of introductions and ice-breakers, an overview of the rules and expectations, a discussion of the required materials, and an opportunity to dig a bit into the syllabus. Whether you are teaching online, hybrind, remote, or in-person. having a well-designed home page can provide some of the same information to your students in an organized and welcoming way. Building an inviting home page is straightforward using the Design Tools by Cidi Labs.

This resource will help you use Cidi Labs to build a course home page in Canvas. Before starting, think about what parts of the course you may want your students to navigate to from the home screen. For example, it’s customary to have a “start here” link that takes students to a welcome page, a welcome video, or a course overview video. What other parts of the course would you like your students to see or experience immediately upon entering your course?
- In Canvas, navigate to Pages, and click “view all pages.”
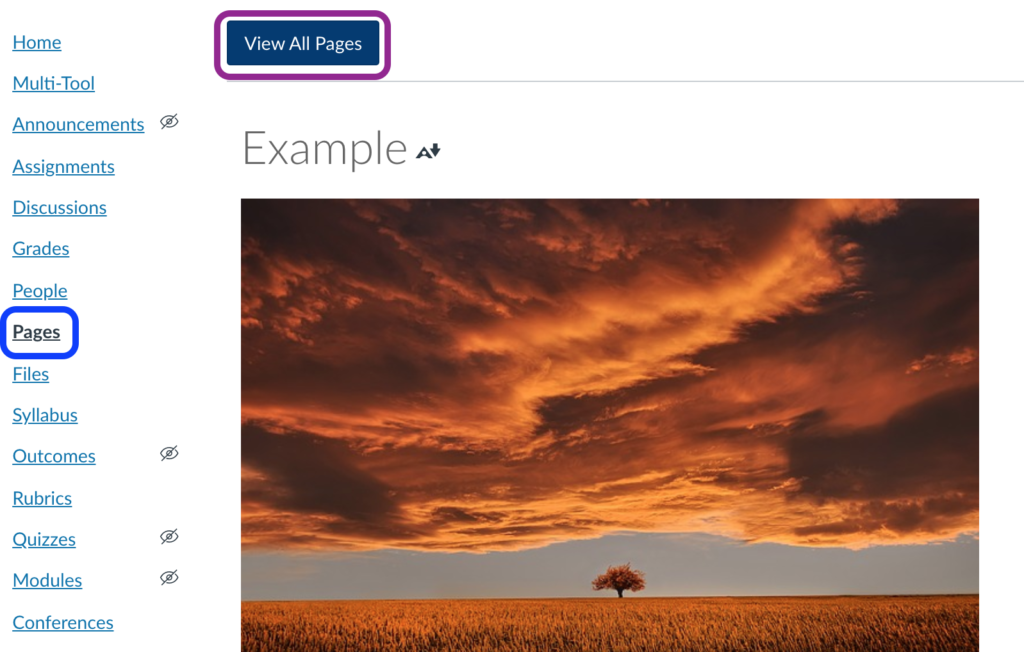
2. Click “+ page” to add a page

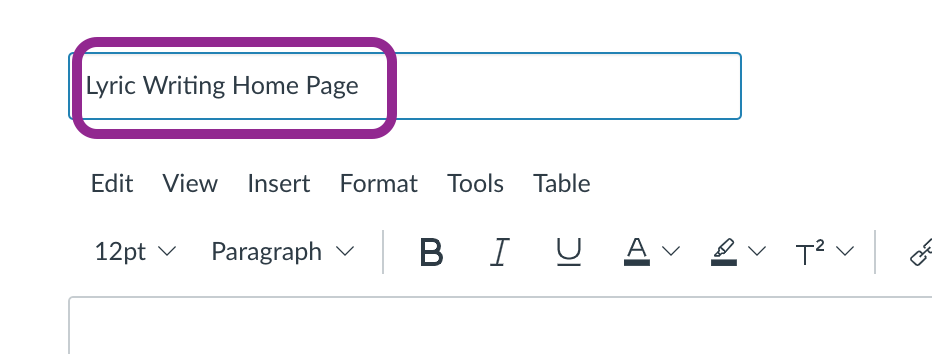
3. Title the home page.
4. Launch the Design Tools interface by clicking on the rocket icon in the upper right-hand corner of the screen, or by using the short-cut keys Option-Shif-D on a Mac or Alt-Shift-D on a PC.

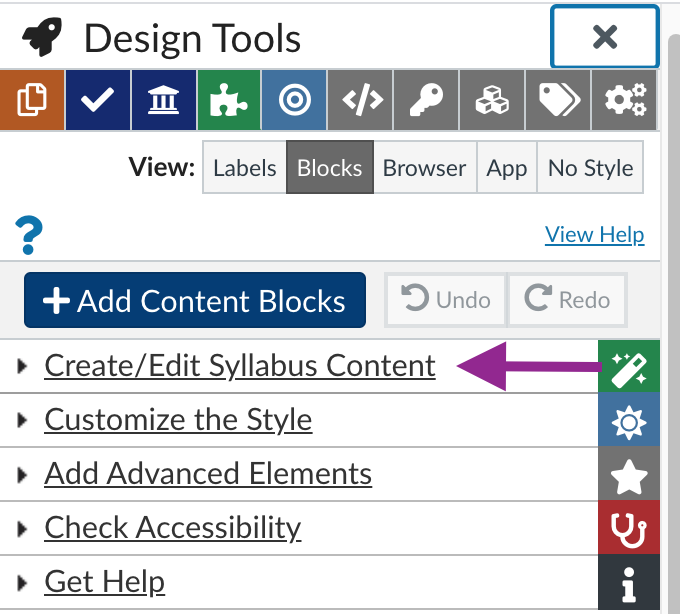
5. Now that the Design Tools interface is open, choose the “create/edit” content option to view the menu options.
6. Expand the “choose a theme” option, and choose “front page” as the page type.
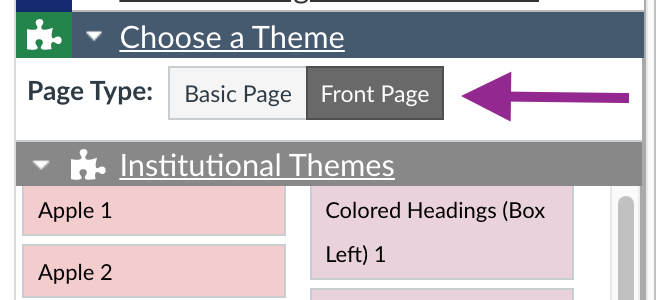
7. Look through the available themes by hovering over the different theme names. This will create a pop-up representation of the theme.
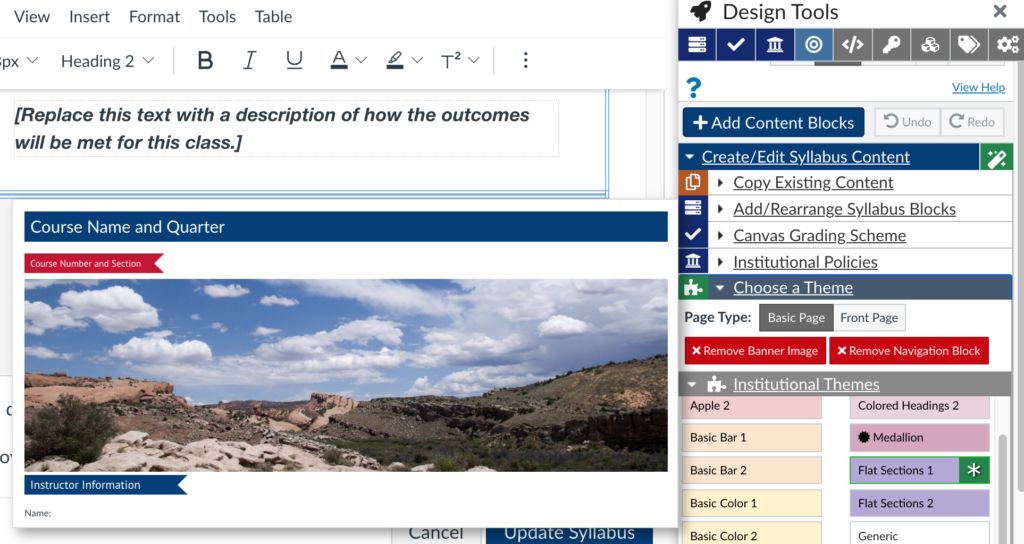
8. Choose your preferred theme, and save your option.
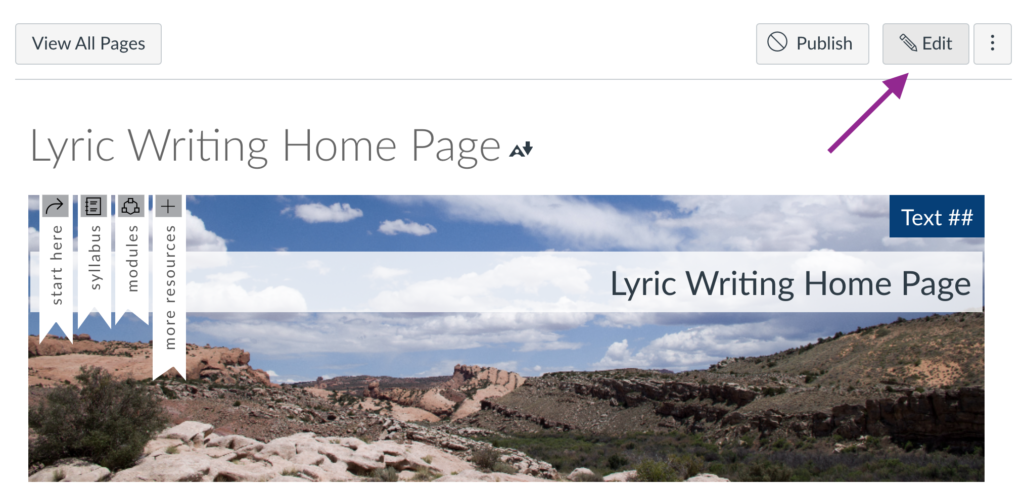
- Open the page editor from your home page.
2. Launch the Design Tools interface by clicking on the rocket icon in the upper right-hand corner of the screen, or by using the short-cut keys Option-Shift-D on a Mac or Alt-Shift-D on a PC.

3. Choose the Create/Edit content option to see menu choices.

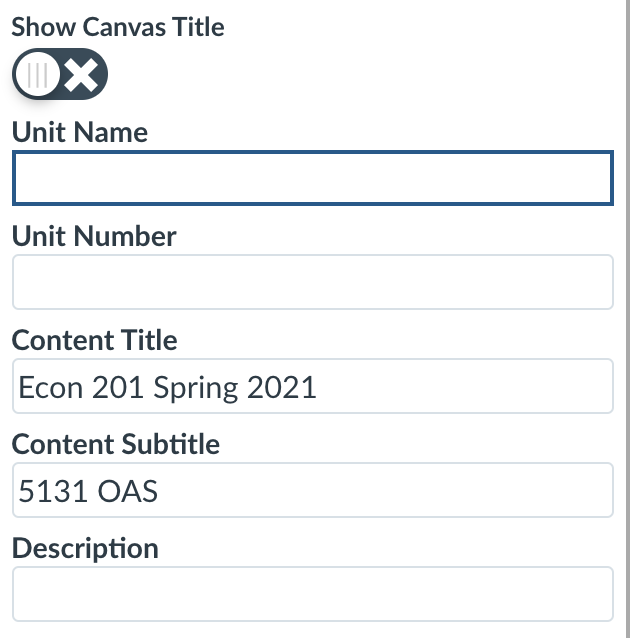
4. In the Create/Edit Content menu, choose “Customize Banner Text”
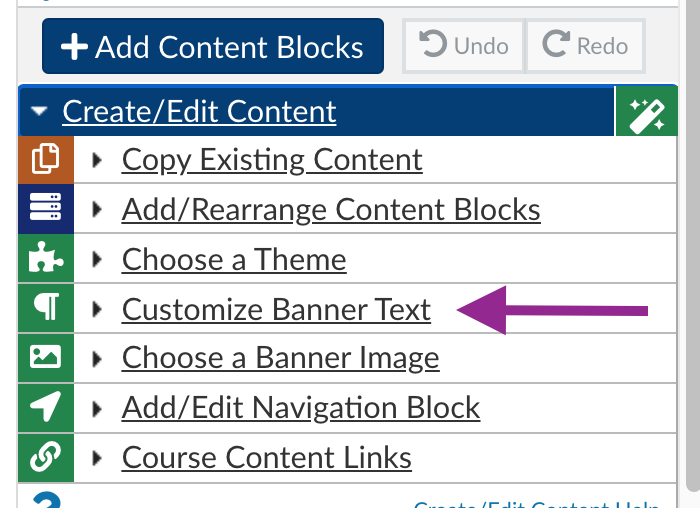
5. Add the banner text to represent your course.
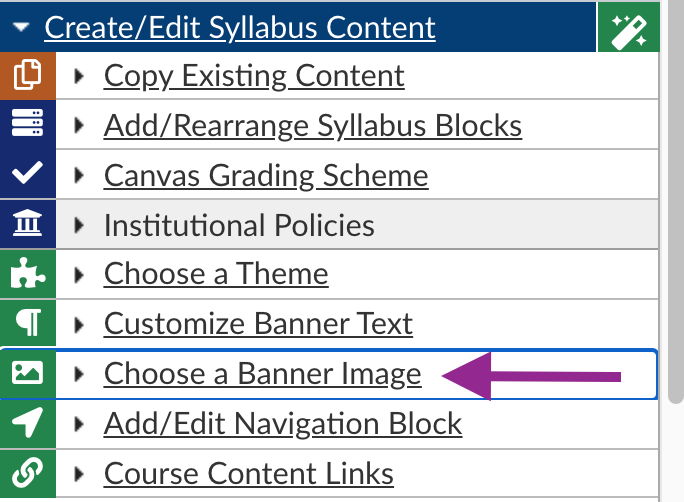
6. Open the drop-down menu for “Choose a banner image.
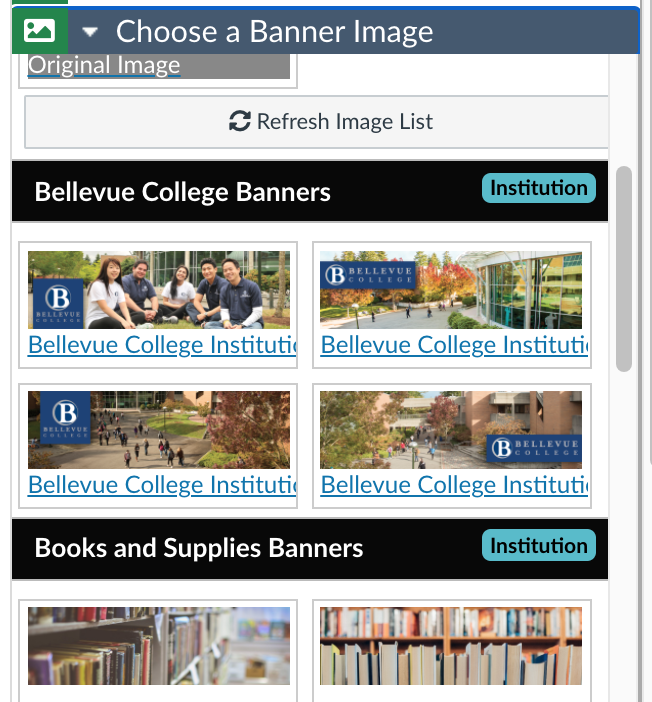
7. Choose a banner image from several options.
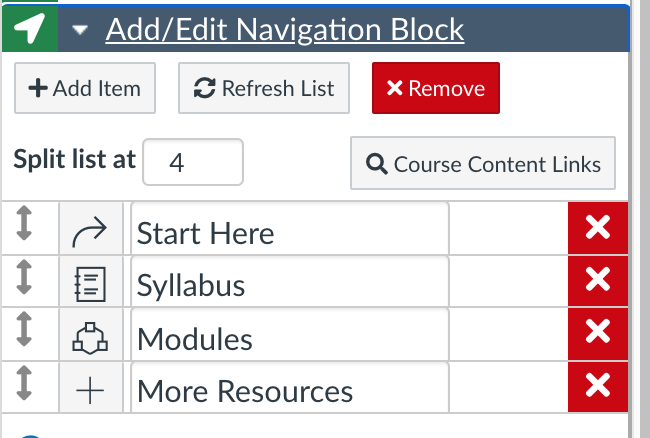
8. Open the drop-down menu for Add/Edit Navigation Block.”
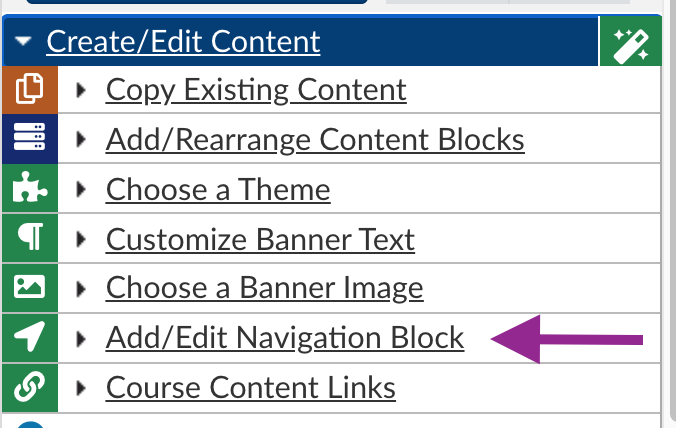
9. Change the names of navigation blocks, add additional navigation blocks, remove navigation blocks, add or remove icons associated with navigation blocks.
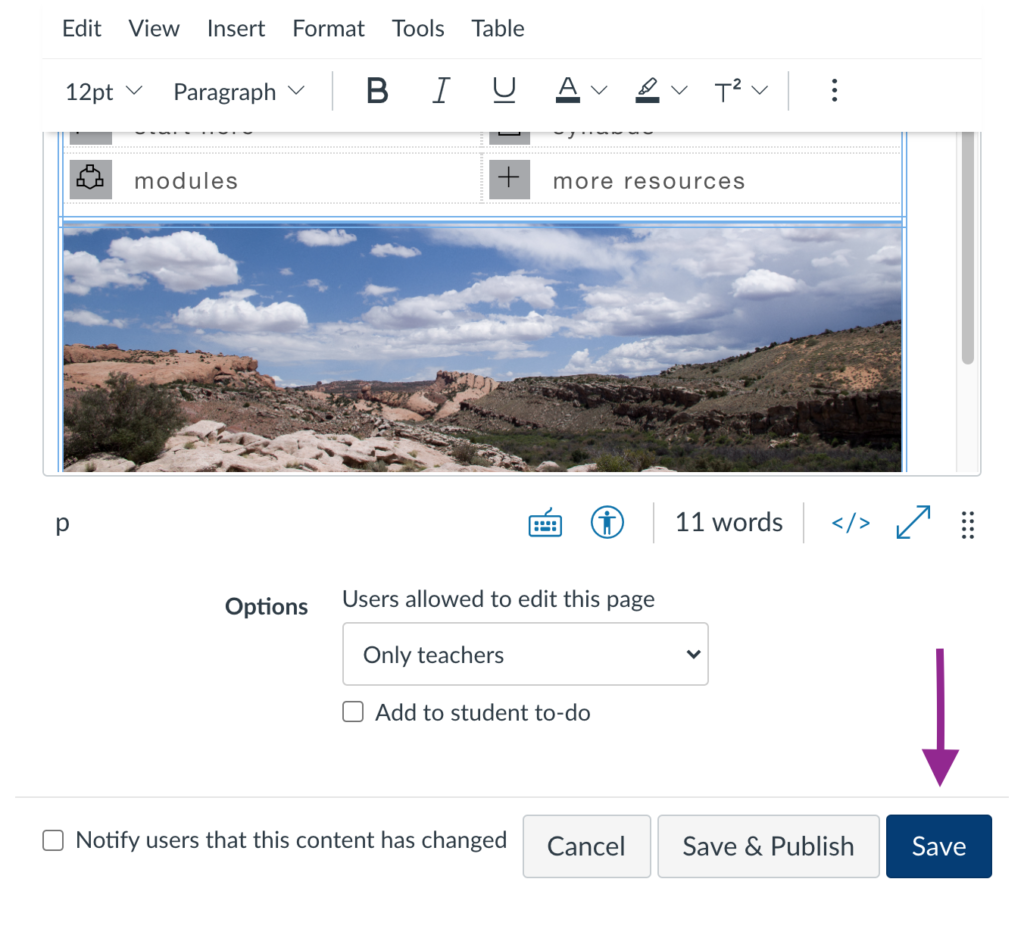
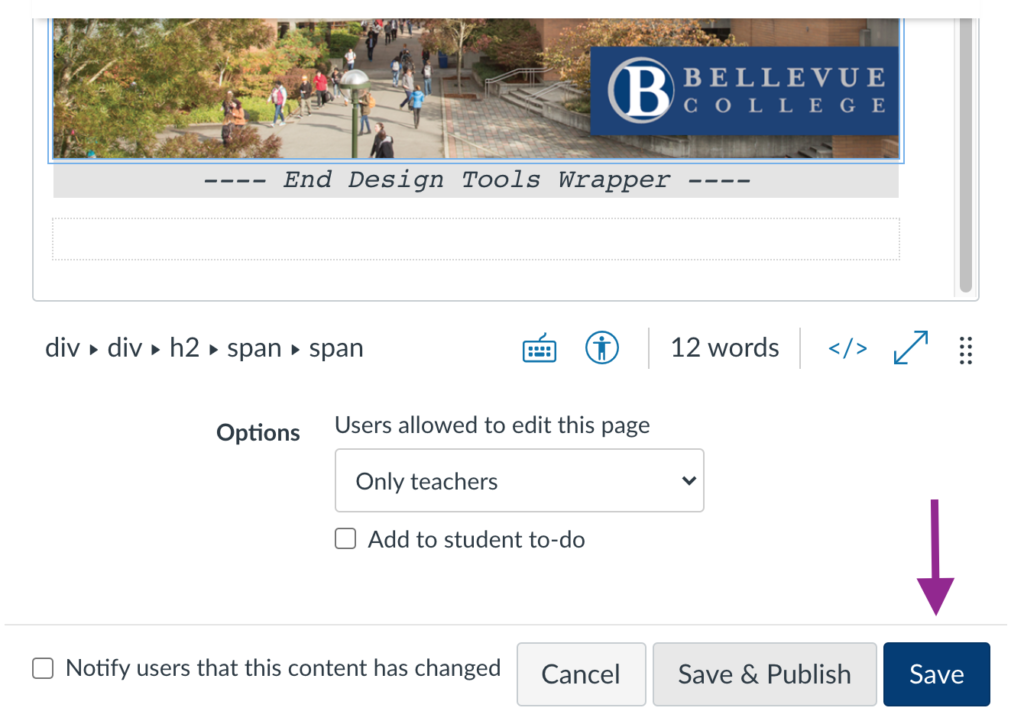
10. Save your changes.
Last Updated February 18, 2021
