


Neural Radiance Field (NeRF) and photogrammetry are both techniques for creating 3D models of real-world scenes, but they differ in several ways.
Photogrammetry is a method of generating 3D models of objects, scenes, and landscapes using photographs. It involves taking multiple overlapping images from different angles and processing them with specialized software to create a point cloud and mesh representation of the subject. The final result is a photorealistic 3D model that can be examined and studied in detail.
NeRF, on the other hand, uses AI so it trains a computer program to predict what a 3D scene looks like, based on 2D images taken from different angles. The resulting model can be used to create new views of the scene from any angle, with realistic lighting and shading effects. NeRF does not require as many images as photogrammetry, but it may struggle with fine details and textures.
In this article we are going to explore two different apps that let you create 3D models of real-world scenes, one works with photogrammetry (poly.cam/) and the other with NeRF technology (lumalabs.ai/). While both apps are also available for iOS devices, our goal is to test their ability to convert drone footage into a 3D model. Therefore, we’ll use the online version of the apps, which makes it easier to upload content recorded separately.
For this experiment, we will use a drone video of the T Building in Bellevue College – feel free to download it at:
https://drive.google.com/file/d/1RP0HmL0EFXcFOqnpbAGycolH3468024n/view?usp=sharing
Using Luma AI
The process of generating a NeRF from a video is computational intensive and requires you to follow some guidelines for best results:
• Disable HDR when capturing videos
• Capture a scene or object by going around in loops – ideally, capture in loops from 3 heights: phone at chest level looking ahead, phone a bit above the head pointing a bit down to the center of the scene, and finally from knee level pointing upwards a bit.
• Capture slowly to reduce blur
In our case, we performed a flight over a building with a drone, so we only did one loop.
To upload the video, login to lumalabs.ai/ > Create new > Upload your video
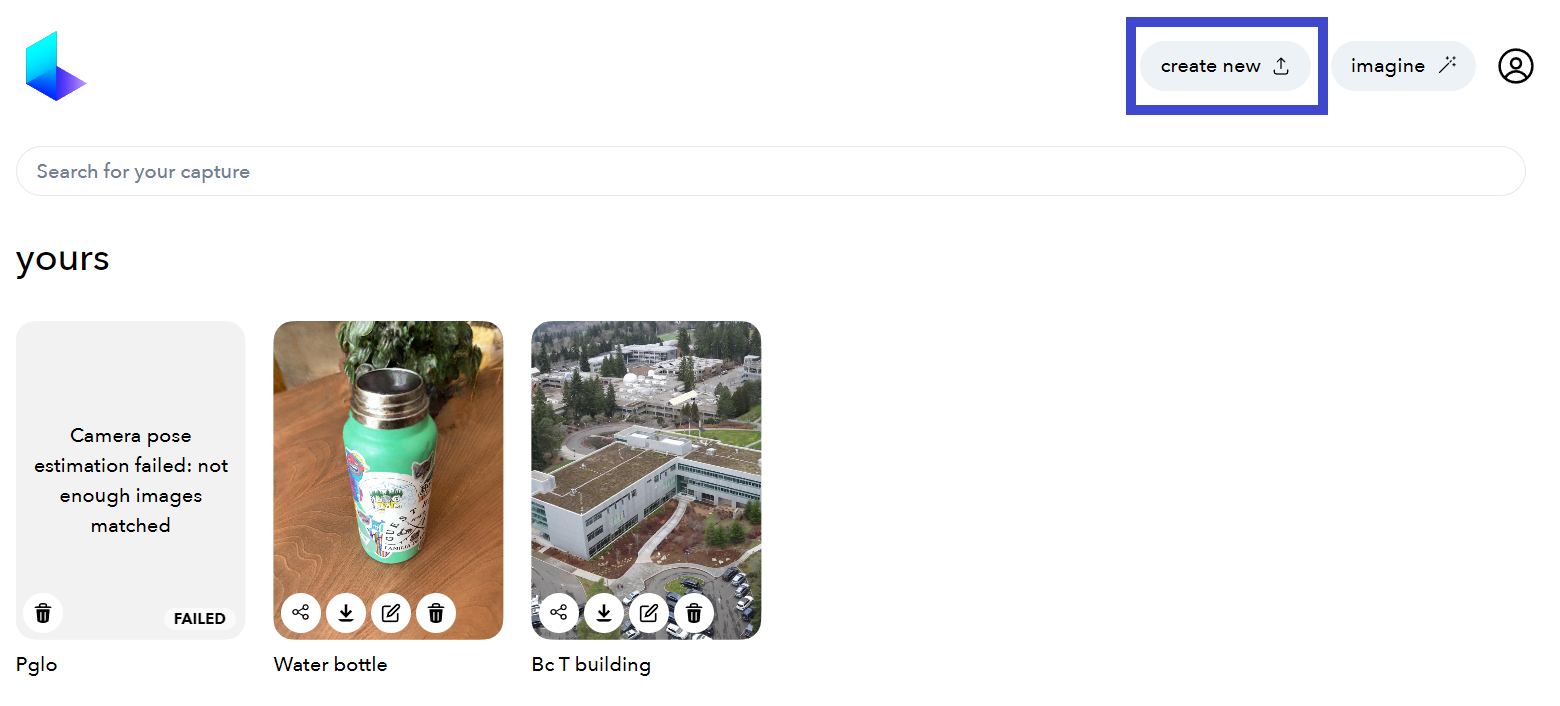
Luma AI will start processing the video and generate a 3D model of the objects in the video.
After the processing is complete, you can export your model as a GLTF, OBJ or USDZ file.
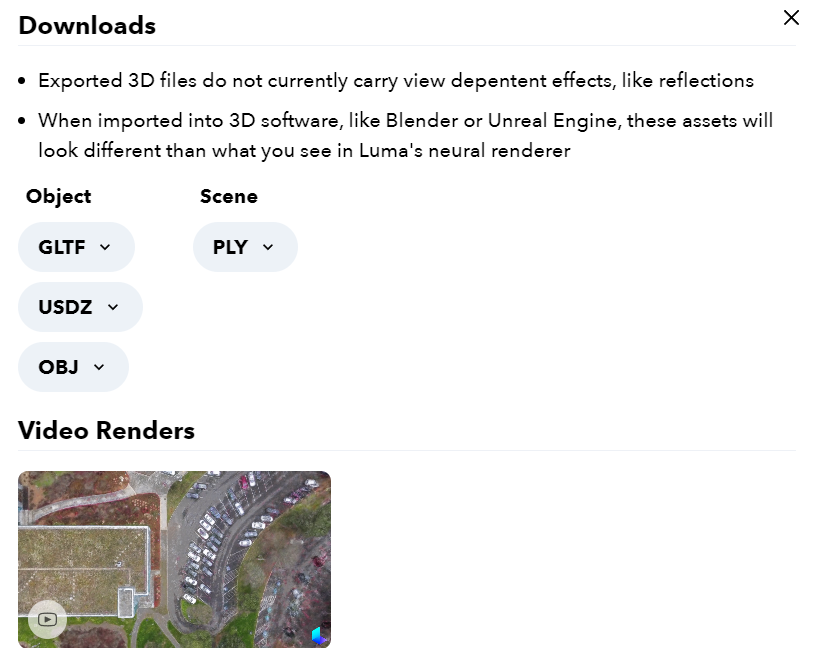
iOS devices will recognize USDZ as a native 3D model file format, so you can preview the model on your phone by saving it to Files and tapping it.

You can also create cinematic videos from the capture with impossible camera moves. Again, this step requires you to use your mobile app. Go to the renders section, click on ‘New” and move your camera as you like, adding keyframes to create the trajectory. When you are satisfied with the results you can click on “Render”.
Using Polycam
As with Luma AI, Polycam features a mobile app that lets you scan objects and environments directly from the device. However, since we already have a drone video, we’ll use the online version of Polycam and not the mobile app.
Here are the steps to create a 3D model from a video using Polycam:
- The first thing you need to do is to convert your video into an image sequence of up to 250 images. You can use an online converter like: ezgif.com/video-to-jpg or a video editing software like Premiere or After Effects.
- Go to poly.cam/
- Create an account and click on “Create capture”

- Upload your images and wait for the program to process the images. This is the photogrammetry outcome from our drone video:
https://poly.cam/capture/29412efe-d0d6-4816-8636-046a64016d01
Conclusions
Which is the best technology to generate a 3D model? It depends: overall, photogrammetry may be better suited for capturing fine details and textures, while NeRF may be better suited for creating photorealistic 3D models that can be viewed from any angle.
The models created with NeRF are harder to use in projects because the result is a radiance field while photogrammetry generates a 3D model with meshes and textures and it stores in a way that traditional 3D tools can use.
In summary, NeRF and photogrammetry are two distinct techniques used for generating 3D models, with different strengths and weaknesses. The choice of technique depends on the specific requirements of the application and the available resources.
To learn more about the differences between NeRF and photogrammetry, check out this video:
Last Updated September 21, 2023