
One of the navigation links available in all Canvas courses is the syllabus link. Students know to click on this link to find the course syllabus. You should include your syllabus on the Syllabus page in Canvas because it makes it very easy for students to find and gives them access to additional features such as the course calendar and course summary. The Cidi Labs Syllabus Template makes it easy to build an accessible and engaging syllabus in Canvas.
Using DesignPLUS to Add the Syllabus Template
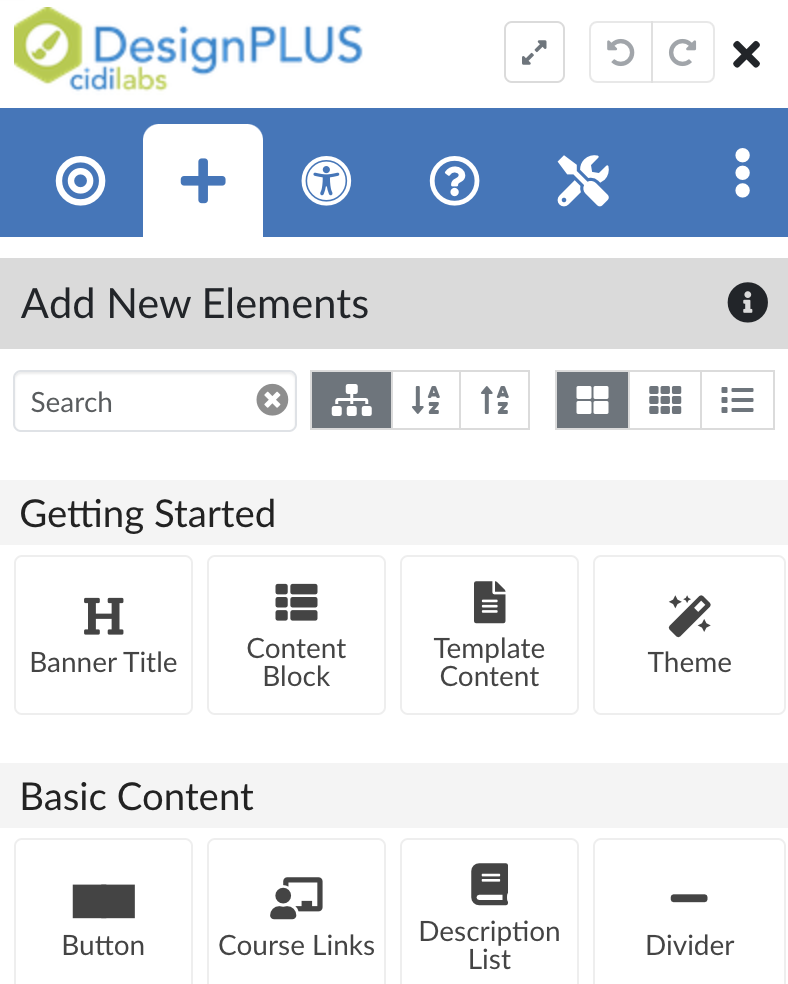
Use these instructions if your Cidi Labs interface looks like the image below:
Video Walkthrough
How to add the Cidi Labs Syllabus Template using DesignPLUS (new version):
Text-Based Instructions with Screenshots
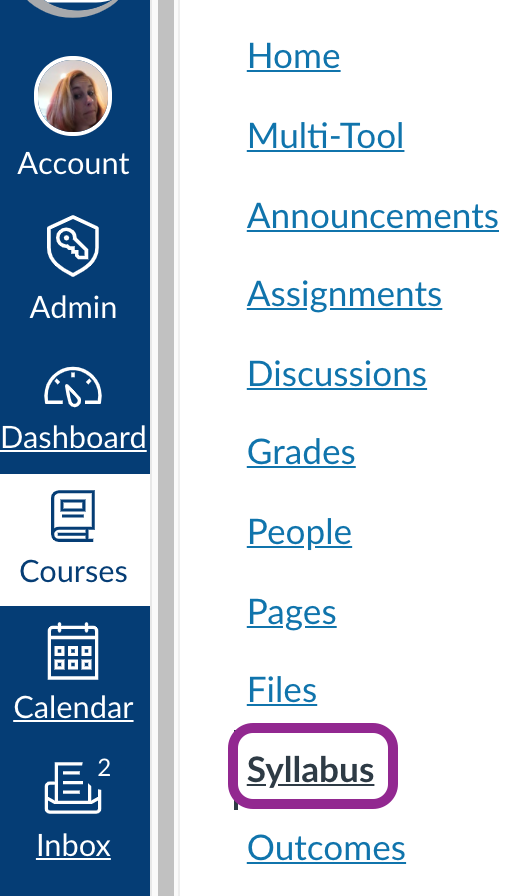
- Choose the Syllabus link in your course Navigation.
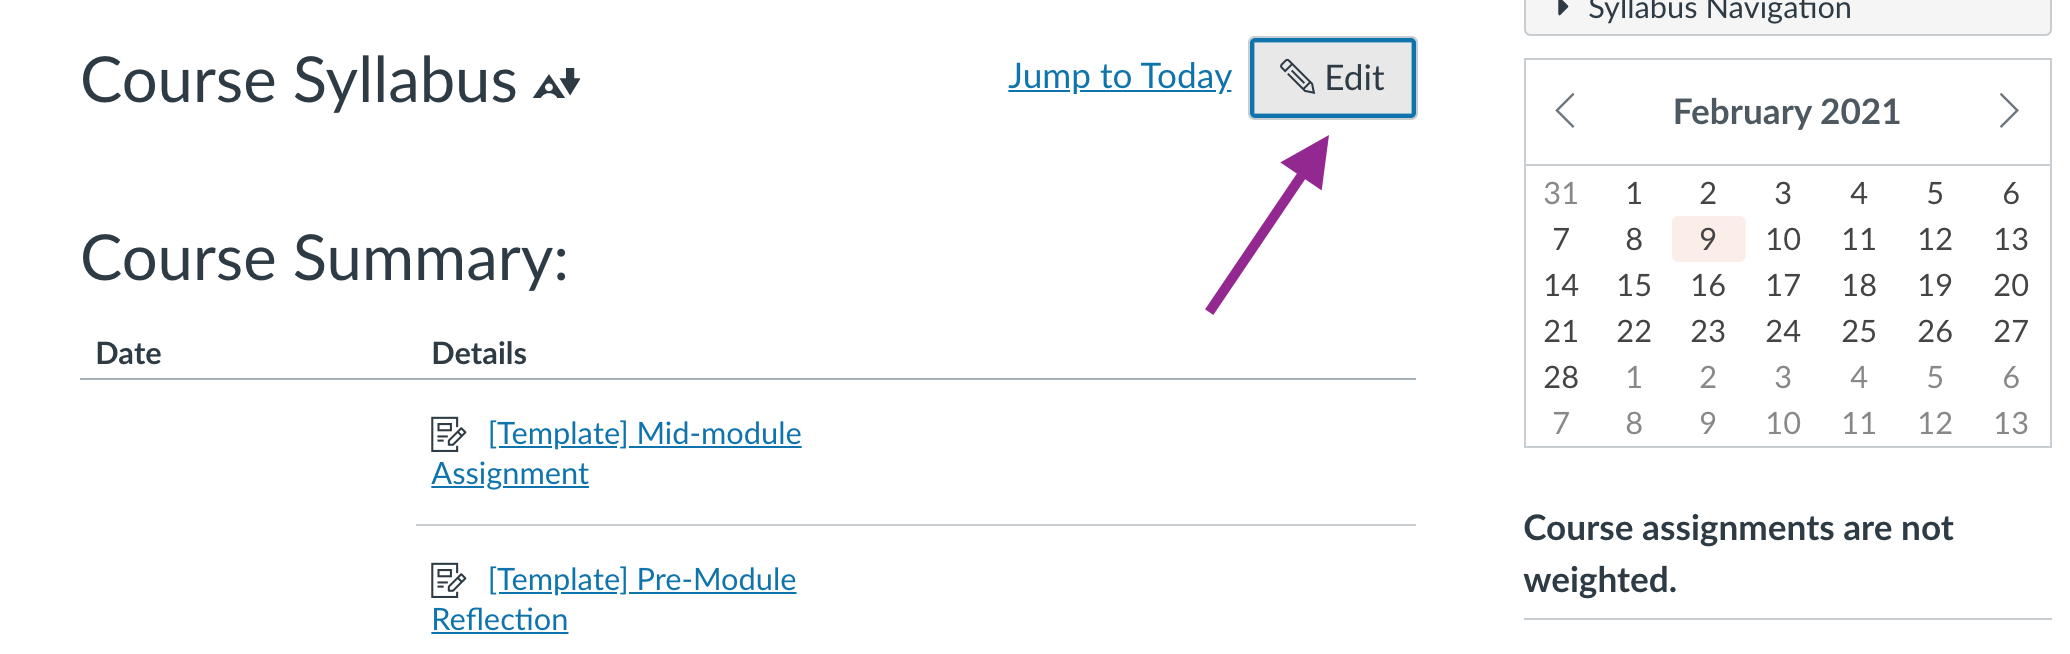
2. Choose Edit.
3. Launch DesignPLUS. by choosing the rocket icon in the upper right hand portion of your screen. If you do not see DesignPLUS, press SHIFT+OPTION+D (Mac) or SHIFT+ALT+D (PC).

4. Enter “template” into the search option in the DesignPLUS tool. Then choose Template Content.

5. Choose Bellevue College, then choose Syllabus. Choose the syllabus you want to import.

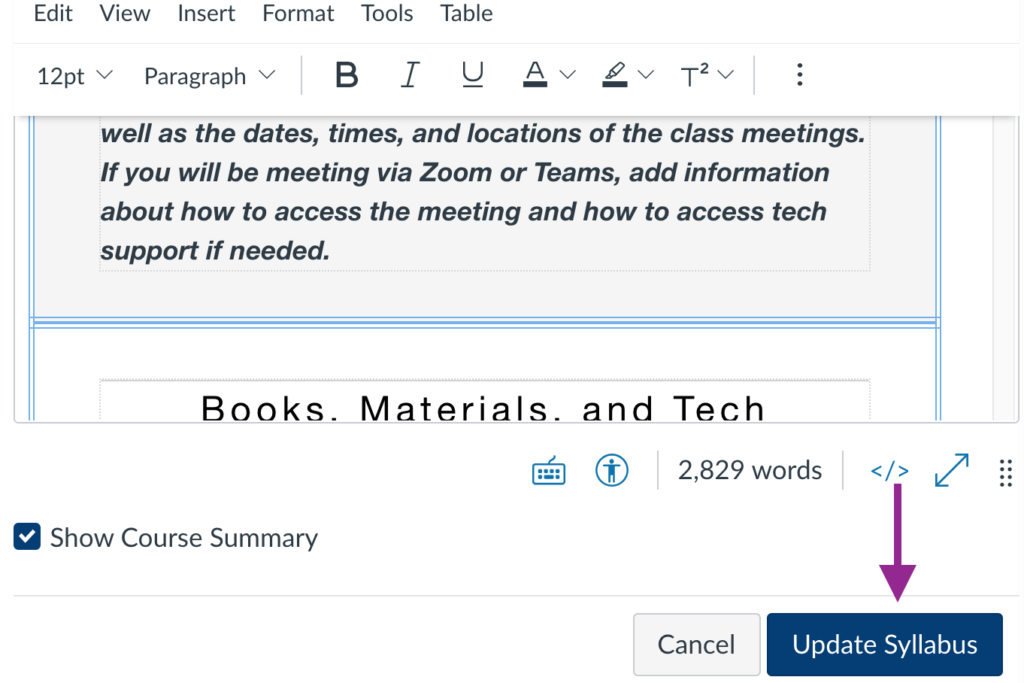
6. At the bottom of the Canvas Syllabus edit page, choose Update Syllabus.
- Choose the Syllabus link in the course navigation, then choose Edit to open the rich content editor for the syllabus.
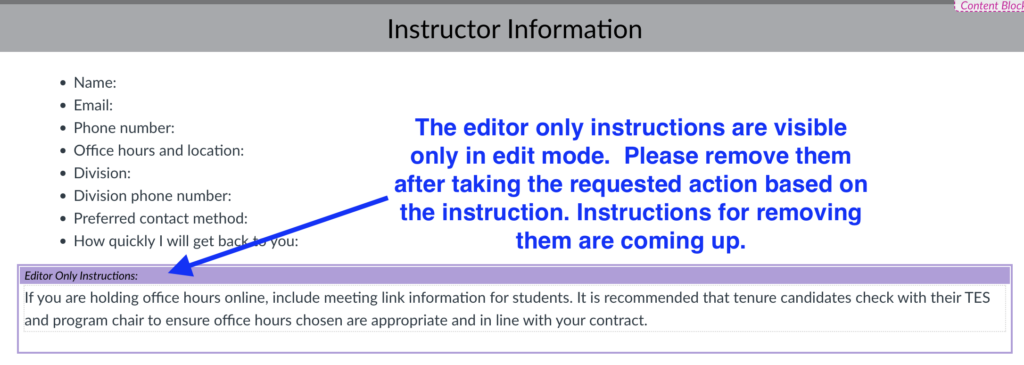
2. When in Edit mode, you’ll see content boxes with the title Editor Only Instructions. These boxes contain helpful information for filling out the different sections of the syllabus.

You can edit the syllabus template content in the rich content editor just like you edit other content in Canvas. As you replace the content and complete any actions suggested in the Editor Only Instructions, follow the instructions below to remove the Editor Only Instructions.
3. Click anywhere in the Editor Only Instructions. Then, choose the target tab in Design Plus followed by the Action Items Information tab. Choose Remove to delete the current Action Item.

4. Don’t forget to choose Update Syllabus when all your content has been added and the Action Items have been removed.
Using Design Tools to Add the Syllabus Template
Use these instructions if your Cidi Labs interface looks like the image below:

Video Walkthrough
How to add the Cidi Labs Syllabus Template using DesignPLUS (old version):
NOTE: This version of Cidi Labs will not be supported after Dec. 31st, 2025.
Text-Based Instructions with Screenshots
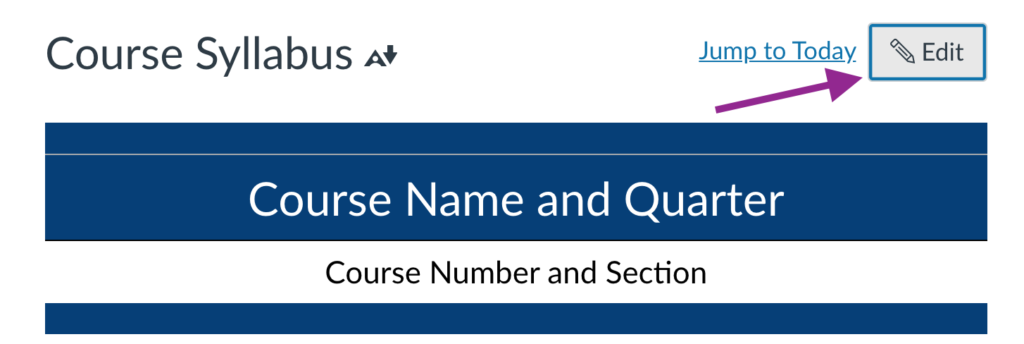
- Click on the “syllabus” link in the navigation area of your Canvas course.
2. Click on “edit.”

3. Launch the Design Tools interface by clicking on the rocket icon in the upper right-hand corner of the screen, or by using the short-cut keys Option-Shift-D on a Mac or Alt-Shift-D on a PC.

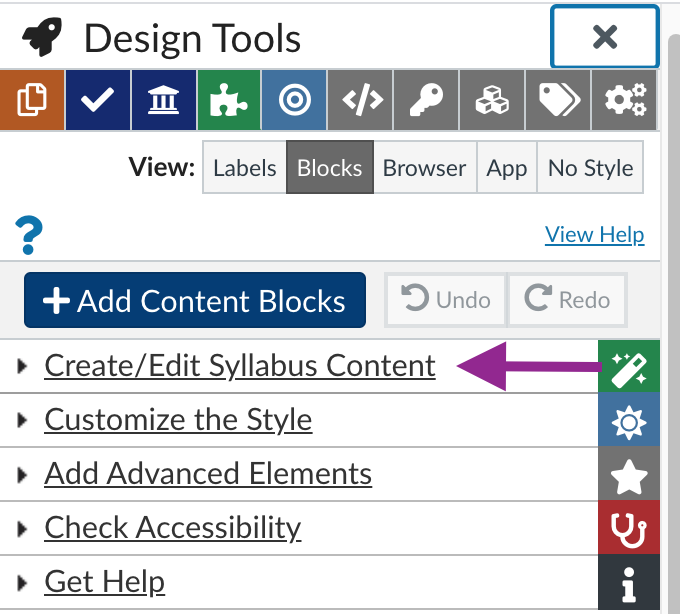
4. Choose “Create/Edit Syllabus Content” in the Design Tools editor.
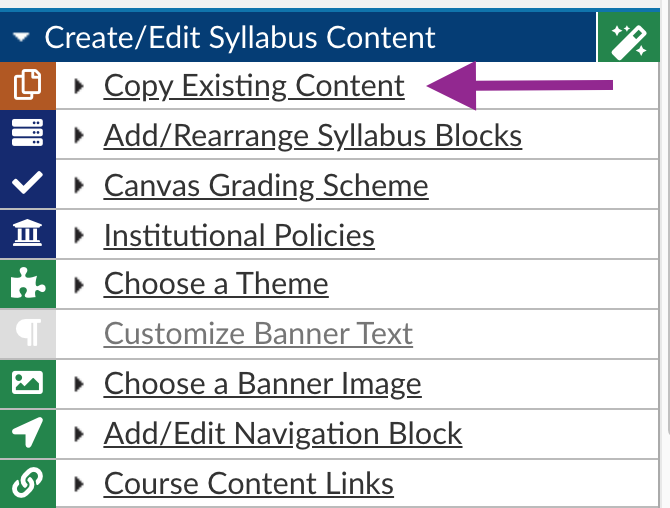
5. Choose “Copy Existing Content.”
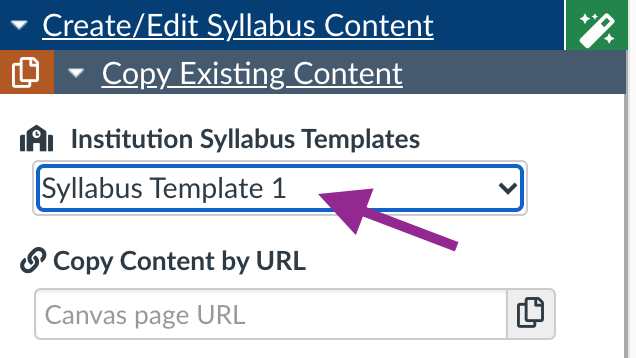
6. Under “Institutional Syllabus Templates” choose “Syllabus Template 1” from the dropdown menu. This is the Bellevue College accessible syllabus template.
7. Click on “update syllabus” at the bottom of the Canvas syllabus editor to save your changes.
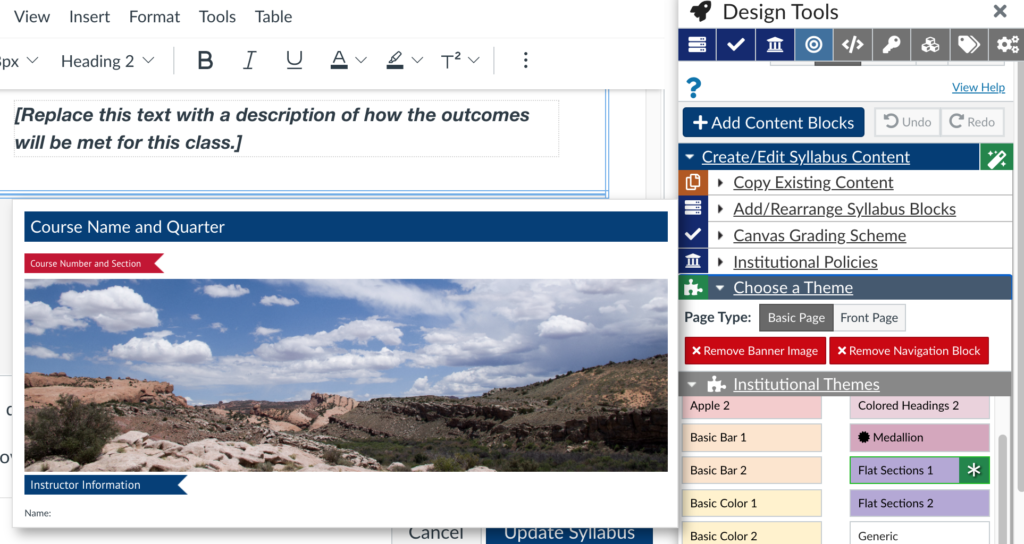
- Click on “Choose a Theme” in the “Create/Edit Syllabus Content” drop-down menu.
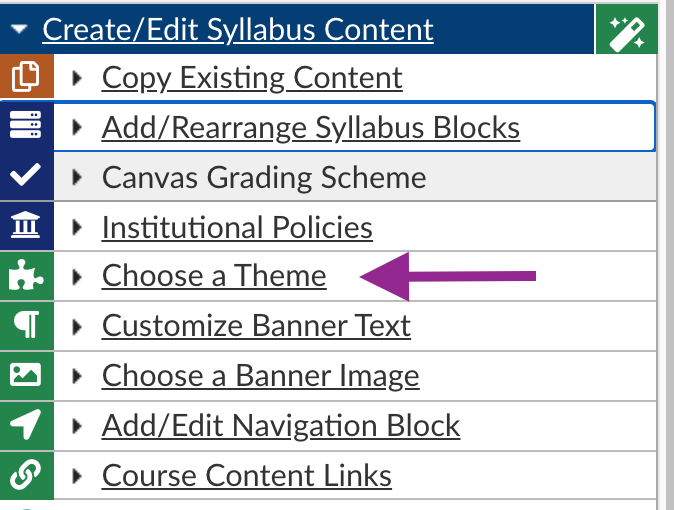
- Hover over the different themes to see a pop-up view of that theme. Choose a theme.
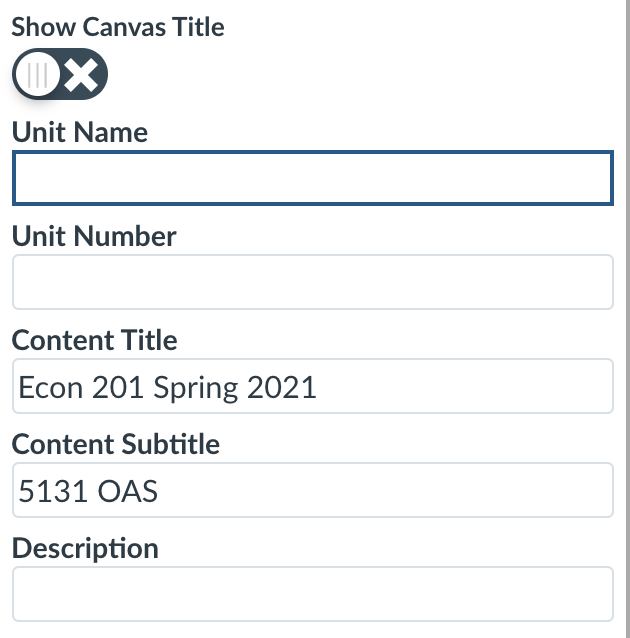
- Choose “Update Banner Text” in the “Create/Edit Syllabus Content” drop-down menu.
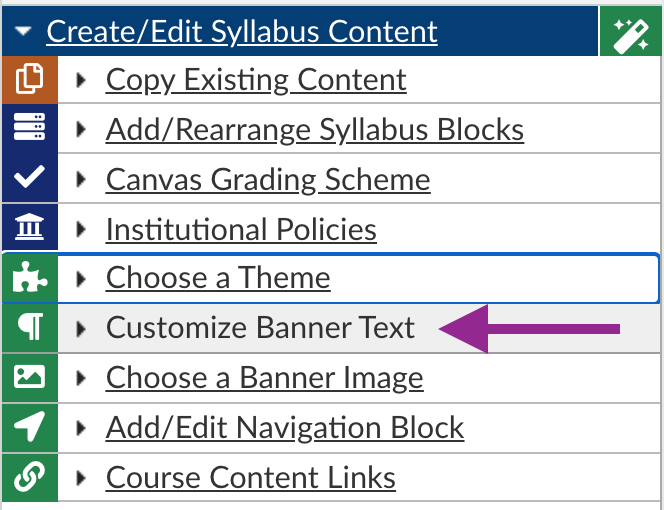
- Add your course name and quarter and the section number and section into the text fields available.
- Click on “Choose a Banner Image in the “Create/Edit Syllabus Content” drop-down menu.
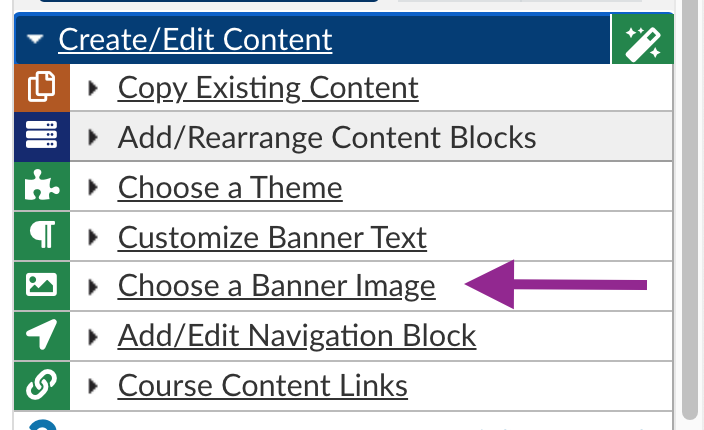
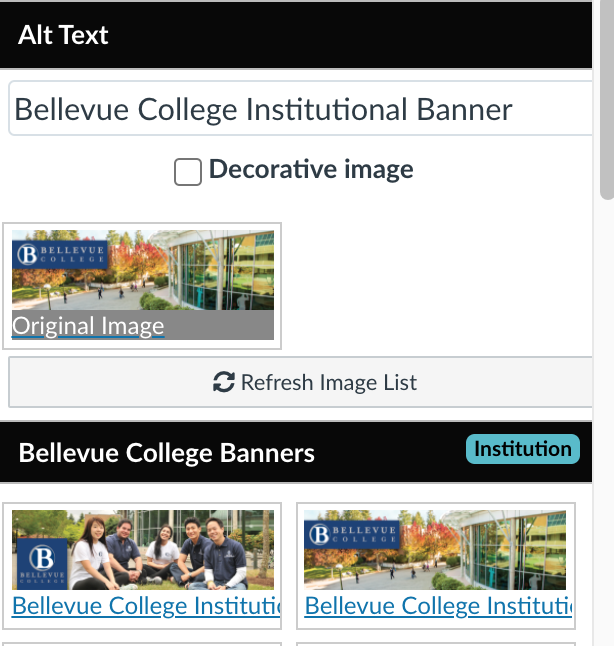
- Choose the banner image that you prefer. Keep in mind that some of the banner images may work better with some themes than others.
- Update the syllabus page to save the new settings.

- Choose the Syllabus link in the course navigation, then choose edit to open the rich content editor for the syllabus.

- When in Edit mode, you’ll see content boxes with the title Editor Only Instructions. These boxes contain helpful information for filling out the different sections of the syllabus.
You can remove the editor only instructions simply by deleting the text and the box like you would any other content in the Canvas rich content editor.
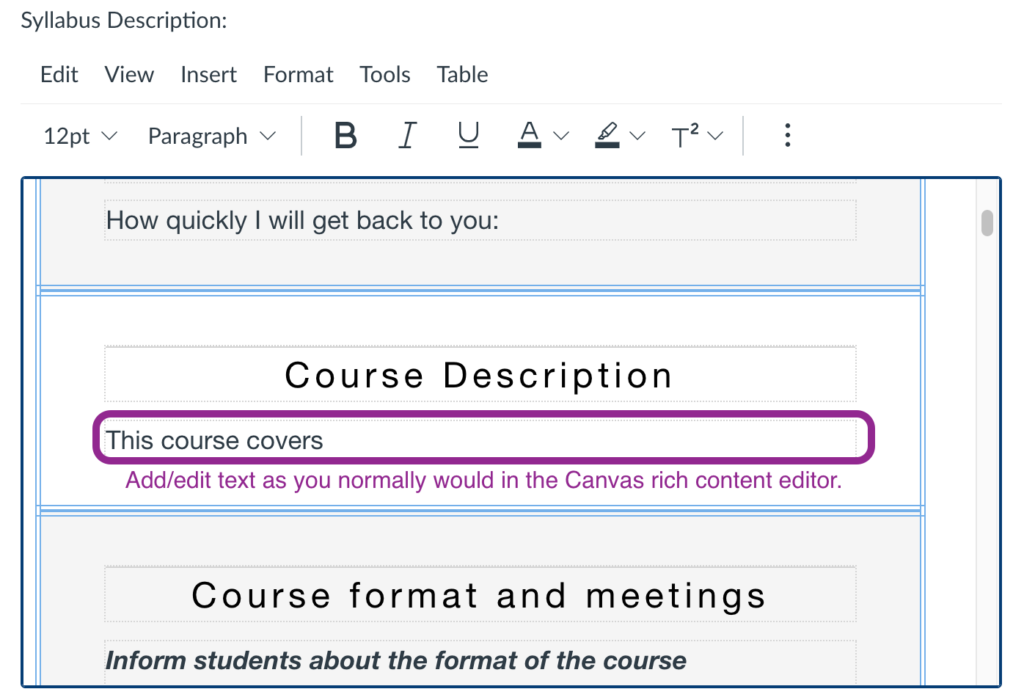
3. Add your own information to the syllabus by clicking in the rich content editor at the spaces where you would like to add/edit/remove content.
- Check your work, then save the syllabus by choosing “update the syllabus” at the bottom of the Canvas rich text editor.

Providing Students with a Printable Syllabus
If you choose to use the Cidi Labs template syllabus, you’ll need to provide information to students on how to print the syllabus. Alternatively, you can copy the syllabus from the Canvas rich content editor in edit mode and save the content as a Word document, then place that file in your course so that students have both a virtual and a hard copy of the course syllabus.
Creating a PDF Version
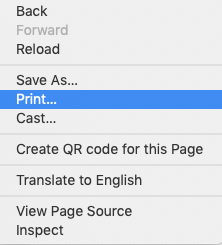
You can convert a copy of the syllabus to PDF from your browser. Right click on the page in Chrome and select print. Then select PDF and save. This will create a PDF version of your syllabus. All browsers should provide the ability to convert to PDF. Additional information on printing to PDF from all browsers.
Creating a Word Version
You can create a Word version of your syllabus by copying and pasting the text from the Canvas page into a blank Word document and saving it.
All versions of your syllabus should match and be accessible for students. Use the Accessibility checker in Word and Adobe before posting the Syllabus. Please contact elearning@bellevuecollege.edu for guidance on creating accessible formats of your syllabus.
➡️ TIP: If an empty box outline appears in your syllabus PDF, then hide the Chat feature from your course navigation. Go to Settings > Navigation and disable the Chat feature.
First time using Cidi Labs?
Click on Edit on any page. In edit mode, choose SHIFT + OPTION + D (Mac) or SHIFT + ALT + D (PC) to launch Cidi Labs. It will show up as a small rocket icon in the upper right corner of your screen. See ‘Getting Started with Cidi Labs’.
Drop into eLearning live Zoom support, M-F, 11-3, where we will be happy to assist you with your Cidi Labs syllabus questions.
Last Updated March 18, 2025