
Step-by-Step Guide
Follow the steps below to view and update your biographic information.
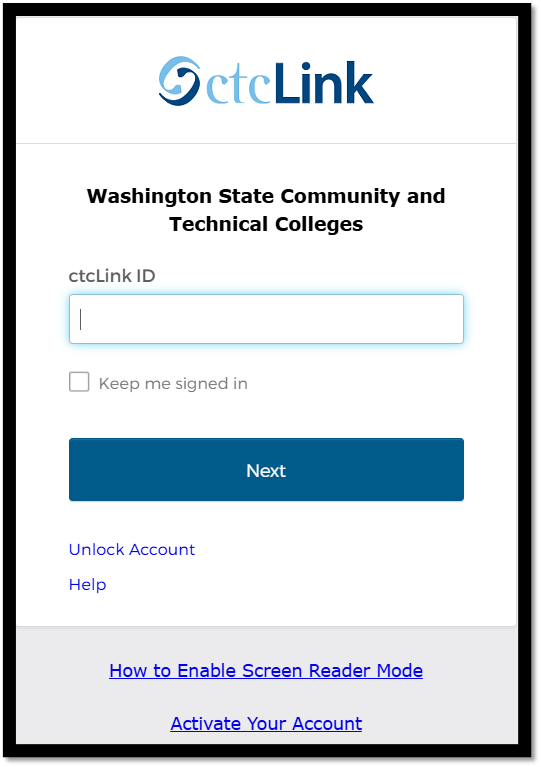
Method One: Using your preferred browser: To go directly to the ctcLink log in page, enter myaccount.ctclink.us in the navigation bar.
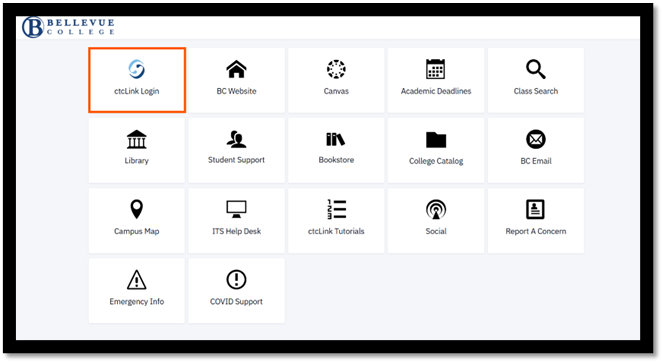
Method Two: Navigation from a mobile device:
Visit Bellevue College ctcLink mobile portal (wa080.ctcLink.us) then click on ‘ctcLink Login’ tile which is the upper left tile.
Note: Students must have an active ctcLink account to log in.
Tip: Forgot your password? Select ‘Password Help’ on the same screen you enter your ctcLink ID. This prompt is not available on the Password entry screen.
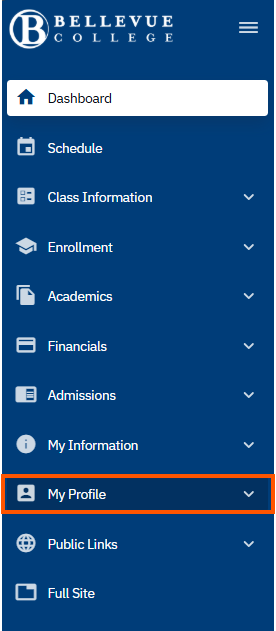
Click on ‘My Profile’ on the dropdown menu, then select ‘Biographical Information’.

Some fields may not contain information or be editable.
In this section you may edit/add the following information in ctcLink as described in the remaining steps below:
- Preferred Name
- Degree Name
- Gender Identity
- Ethnicity
Note: Students who identify as ‘White’ do not have that ethnicity display.
Tip: Use the tabs across the top to navigate between additional personal information you can update.
Select ‘Add Name’ and choose to add a ‘Preferred’ or ‘Degree’ name
Note: Your ‘Preferred’ name is the name you want the college, its faculty, and staff to refer to you by. Your ‘Degree’ name is the name you want listed on any degree and/or certificate you receive.
Click ‘Edit’ (pencil) icon. Expand selection options. Select preferred Gender Identity. Click Save.
Step Six: Update Biographic Information: Ethnicity
When finished, click “Save” and review changes.