
Explore the information below to learn how to view and/or update your contact information in ctcLink
Step-by-Step: Update Your Contact Information in ctcLink
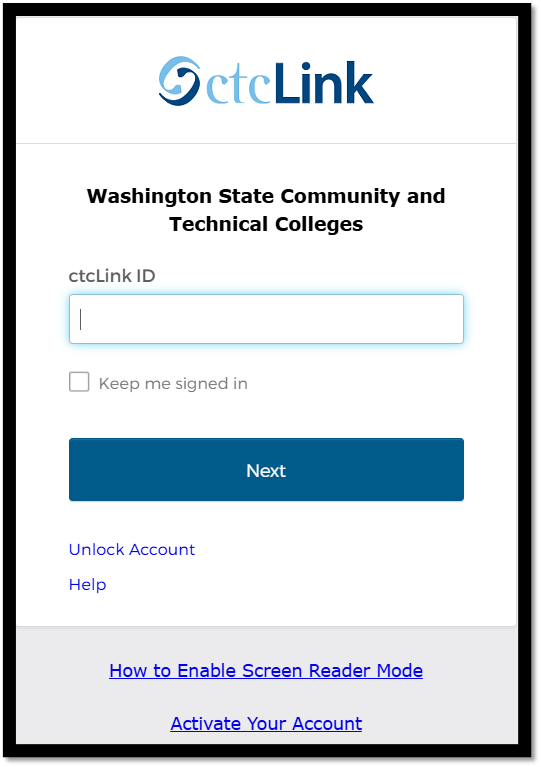
Method One: Using your preferred browser: To go directly to the ctcLink log in page, enter myaccount.ctclink.us in the navigation bar.
Method Two: Navigation from a mobile device
Visit wa080.ctclink.us OR open your ctcLink mobile app then enter your ctcLink ID and Password.

Note: Students must activate their ctcLink account to log in.
Tip: Forgot your password? Select ‘Password Help’ on the same screen you enter your ctcLink ID. This prompt is not available on the Password entry screen.
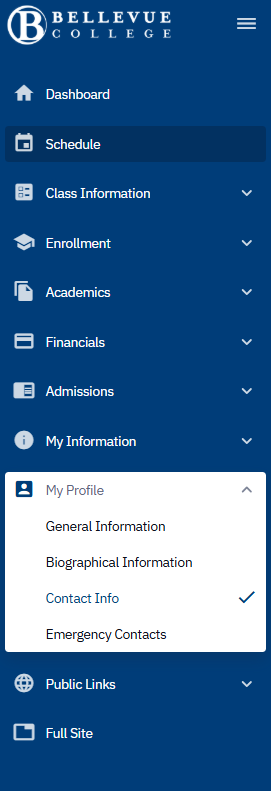
Click on ‘My Profile’ found on the menu; then select ‘Contact Info’.
Some fields may not contain information or be editable
Note: Phone numbers do not have to include country codes. If you choose to include it, it is listed as a three- digit number before your phone number.
There is a ‘/’ after the area code of your phone number. It will automatically be formatted this way no matter how you enter your phone number in the first place.
Tip: Use the tabs at the top to navigate between additional personal information you can update.
Edit your ‘Home’ address, select ‘Add Address’, OR select ‘Add Future Address’.
Note: Address types you can add are:
- Billing
- Business
- Check
- Mailing
- Permanent
- Preferred
- Primary
- Temporary
Enter required information and follow the instructions to create your password. Select ‘Submit’ when done.
Edit your phone numbers or add a new one.
Note: If you don’t have a mobile number on file, it will also be an option you can add.
Tip: Select your “preferred” number for us to use if we must call you.
Tip: Don’t want to receive text messages from Bellevue College? Opt out online at bellevuecollege.tfaforms.net/f/sms-opt-out (note: you need to create a BC NetID to opt out) or reply ‘Stop’ to a text from the college.
Edit your ‘Home’ email address.
Note: Your ‘Home’ email is generally the email you used when you applied to Bellevue College, or is an existing email you had in the system (if you attended another college that used ctcLink).
Most email communications continue to be sent to your BC (Campus) email. Check your Bellevue College email.
Click ‘Edit’ (pencil) icon. Expand selection options. Click Save.