Logo Usage Guidelines
Please follow these guidelines when using the Bellevue College logo. Following these guidelines helps ensure a clear and consistent visual identity across all communication platforms. Maintaining a consistent visual identity is important in building a strong brand.
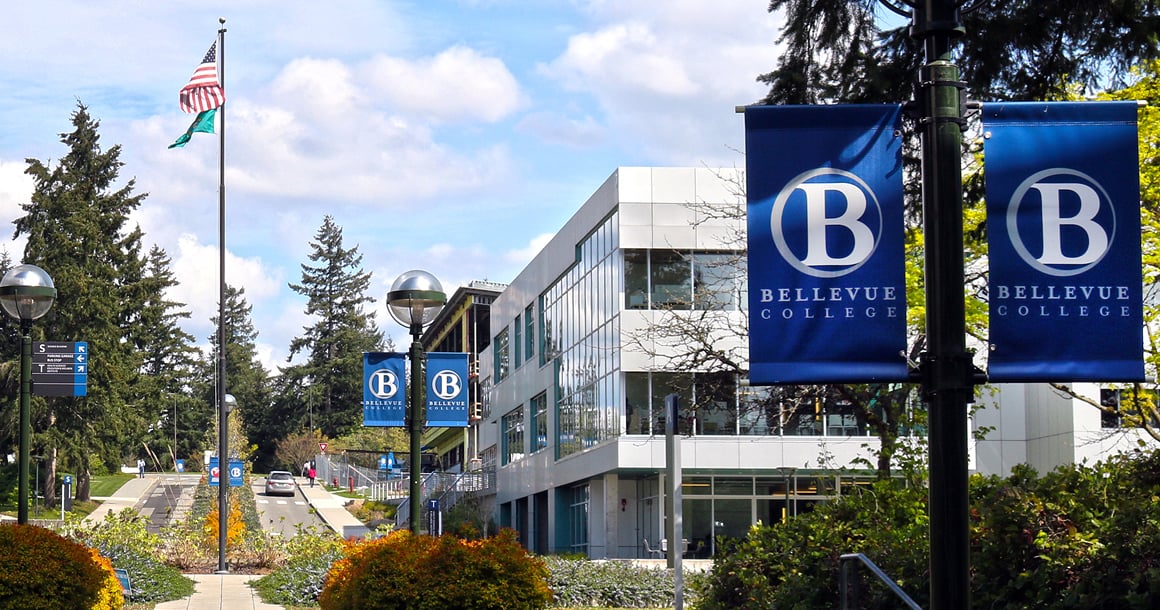
The BC logo has multiple approved variations to offer some flexibility of use.
Approved versions of the BC logo include:
- Horizontal and vertical (stacked)
- Positive and reverse for use over both light and dark backgrounds
- Full color and one-color
Logos are available on Sharepoint.
See File Formats below for help on choosing the appropriate format for specific print and online applications.
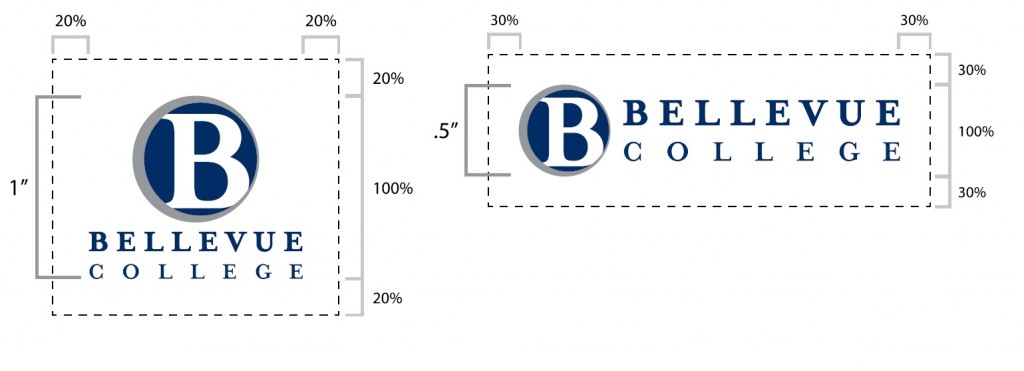
Following these guidelines helps to ensure legibility and supports best practices in accessibility standards. White space makes content easier to read.
- The logo should be printed no smaller than:
- 1″ height for a vertical/stacked logo
- .5″ height for a horizontal logo
- The logo should never be sized any smaller than the logos of other organizations appearing alongside it.
- Imagery or text should not be placed too close or crowd the logo.Always have a minimum clear space of:
- 20% of the height of the vertical/stacked version
- 30% of the height of the horizontal version.
ALWAYS use the logo as defined in this style guide. Inconsistent use dilutes the effectiveness of our visual identity and sends an unprofessional message to the public. No variations please.
Examples

Don’t skew or resize the logo disproportionately.
Hold down shift key when sizing to maintain the proper height/width ratio.
Don’t resize parts of the logo separately.
The “B” icon and BELLEVUE COLLEGE should always be scaled as a unit.

Don’t use a low resolution file.

Don’t crop or cut off any part of the logo.
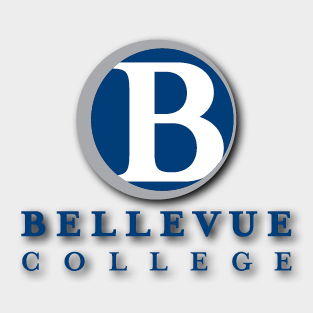
Avoid adding dark drop shadows or other effects that impede legibility.

Be aware of contrast.
Use the positive versions of the logo over light backgrounds and the reverse versions over dark backgrounds.

Avoid placing logos on top of a busy, patterned, or textured background.
Print- and web-ready file formats are not the same! When designing a document that will ultimately be printed either by digital or offset printing, do not use web-ready logos. They will not print correctly. If you have any questions about which file format to use, need a format not shown here, or are an outside vendor needing a print-ready BC logo, please email creativeservices@bellevuecollege.edu.
These definitions will help you choose the appropriate file format for your specific project.
- PDF (Portable Document Format) files can be used for a variety of applications. The resolution can vary depending on how the original document was created. Please be sure to use only high resolution (300 ppi and above) PDFs for offset printing.
- EPS (Encapsulated Postscript) files are usually generated from vector-based, scalable artwork which makes them resolution independent and can be enlarged to any size as well as have transparent backgrounds. This makes them the best choice for use in print projects. Generally, this is the format requested by vendors who create t-shirts and other branded products.
- JPG (Joint Photographic Experts Group) files are pixel-based images that can be used for desktop printing in programs such as Word, Publisher, or PowerPoint. The resolution can vary, so be sure to use only high resolution (300 ppi and above) JPGs when printing to higher resolution applications such as digital or offset printing. Be sure to use them at 100% size or less as scaling them up will result in a pixelated or rough edge.
- PNG (Portable Network Graphics) are also pixel-based images primarily intended for web use but can be used in PowerPoint or Word. PNGs can have a clear or transparent background so no white box is visible around the logo when placed on a color (unlike JPGs). Be sure to use them at 100% size or less as scaling them up will result in a pixelated or rough edge.