How to Enroll for Classes
We provide step-by-step instructions, dates and other important information that you'll need to know in order to enroll for classes.

Steps to Enroll for BC Classes
Method One: Using your preferred browser: To go directly to the ctcLink log in page, enter myaccount.ctclink.us in the navigation bar.
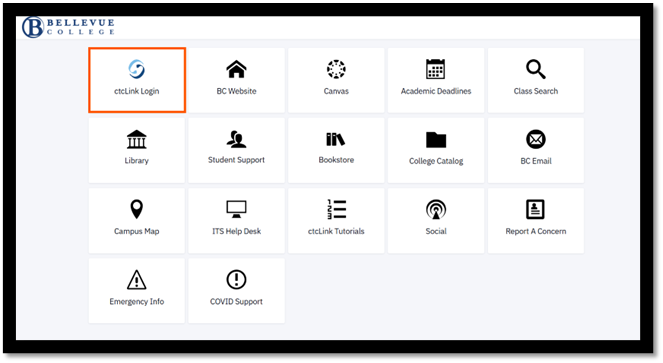
Method Two: Navigation from a mobile device:
Visit Bellevue College ctcLink mobile portal (wa080.ctcLink.us) then click on ‘ctcLink Login’ tile which is the upper left tile.
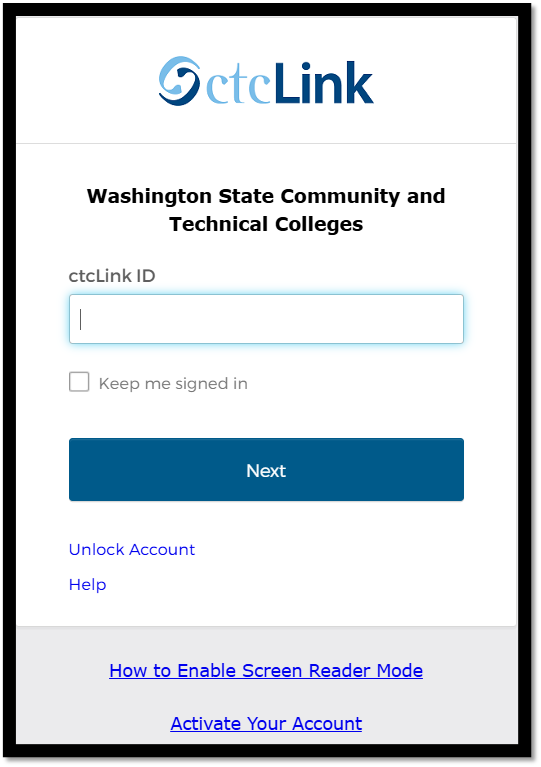
NOTE: If this is your first time logging in, click on Activate your Account. All students must activate their account to enter the system for the first time. To do so:
- Enter your ctcLink ID and select Next
- Enter your password and select Verify
- On the menu to the right click on Enrollment Dates. View your enrollment appointment at the top of the screen
- Note: continuing students enroll anytime on or after your enrollment appointment time. New students and students returning after 4 or more quarters don’t have an assigned enrollment appointment and enroll during the open enrollment period.
- For general dates and deadlines related to enrollment, check the Academic Calendar
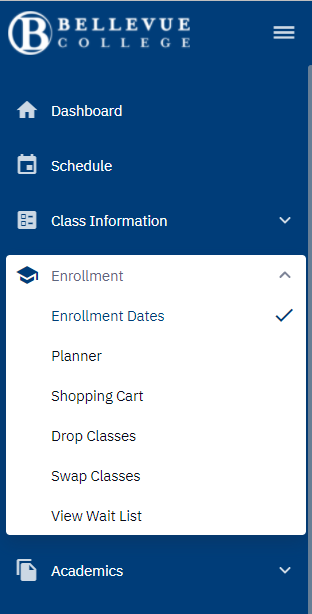
- On the menu to the left click on Class Information, and then Class Search
- Select the Term you want to enroll for
- Search for the classes you want to take using the drop down menus and filters provided
- Once you find a class, expand your view by clicking on the class. You must do this to see your options for enrolling in the class

First open the course information
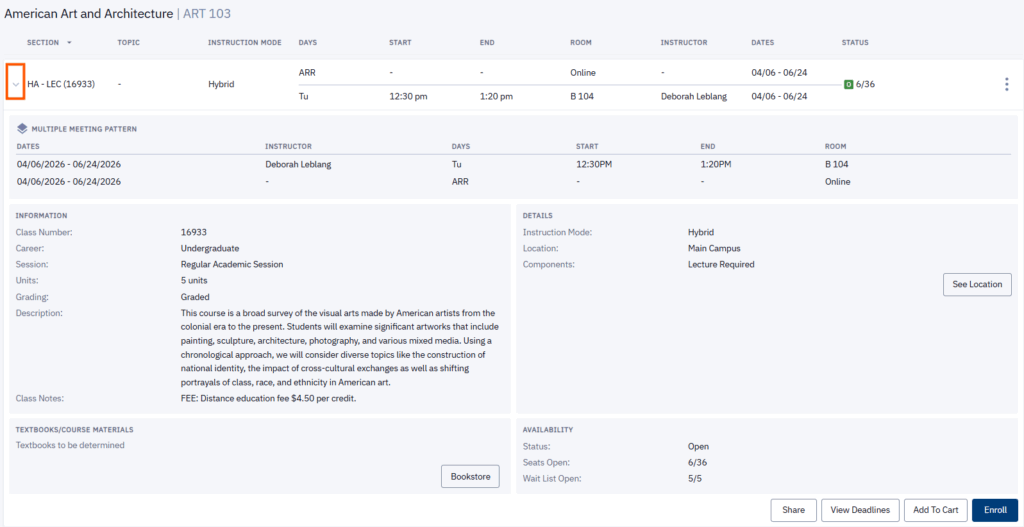
Select your enrollment option located at the end of the expanded class view
You can choose from: Add to Cart or Enroll

Click on Add to Cart, if you want to add your classes all at once at a later time.

Enrolling Directly into a Class
Click on Enroll if you want to add your classes one at a time, or if you are only enrolling for one class. A popup will appear:
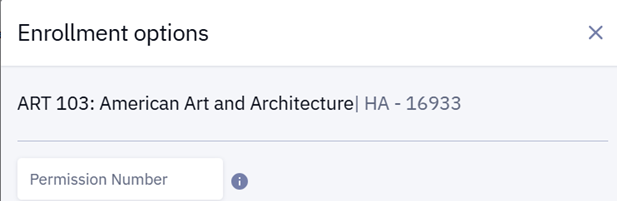

NOTE: If the option is available, you can indicate that you want to be placed on a waitlist if the class is full by clicking on the small box that appears next to “Waitlist if class is full”
Click on Save and look for a pop-up message that lets you know if your class was successfully added to your schedule (if you selected Enroll), or that your class was successfully added to your cart (if you selected Add to Cart)

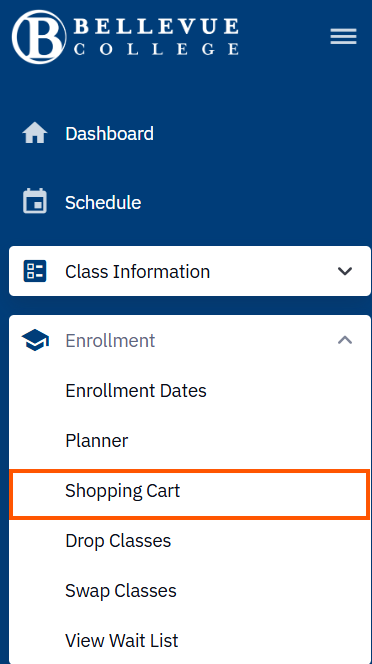
Enrolling from your Shopping Cart
To view your shopping cart and complete the enrollment process, use the menu to the left and click on Enrollment and then Shopping Cart
Once your shopping cart is open, click the three vertical dots next to the class:
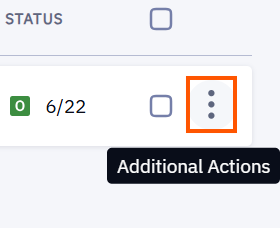
Click the “Enroll” option to be added to the course.

Your enrollment into the class is now complete!
NOTE: You may receive an error message. Please read it carefully and address the issue indicated. This may include meeting a prerequisite, needing a permission number, or another issue. Please read below about permission numbers and
You may need a permission number if:
- The class you plan to take is full
- The waitlist is closed
- Open enrollment is closed

How do you know if you need one and what to do?
- An additional message pops up if a permission number is needed
- To obtain a permission number, contact the instructor listed for the class. Find their contact information using the employee directory.
- If a permission number is not needed, you can simply leave the box blank and proceed with the enrollment process
Note: A permission number is different from showing you have met a prerequisite requirement for the class you plan to take.
There are two options to switch classes:
- First drop the class you no longer wish to be enrolled in, then complete a new enrollment for the class you would like to be enrolled in. OR
- Use the Swap Classes feature which enables you to drop and add a class in one transaction.
Please note, dropping a class using Swap, will still follow the tuition refund deadlines as indicated on the Academic Calendar. Therefore, if you use Swap to switch classes during the 50% refund period, you will still owe 50% of the tuition of the dropped class.
For example: You are enrolled in Class A which is 5 credits and has a total cost of $100. You decide to switch Class A for Class B which is also 5 credits but has a total cost of $150. You use the Swap Classes feature to switch from Class A to Class B during the 50% refund period. Dropping Class A results in a $50 credit on your account (50% refund on the drop). Enrolling in Class B results in a $150 charge (full cost of Class B). Therefore, your account will have a balance due of $100 ($150 charge for Class B minus the $50 credit from dropping Class A).
Important Dates
For enrollment dates and deadlines, please see BC’s Academic Calendar.